


Cakes
How to Cover a Cake with Fondant (Without Losing Your Mind)
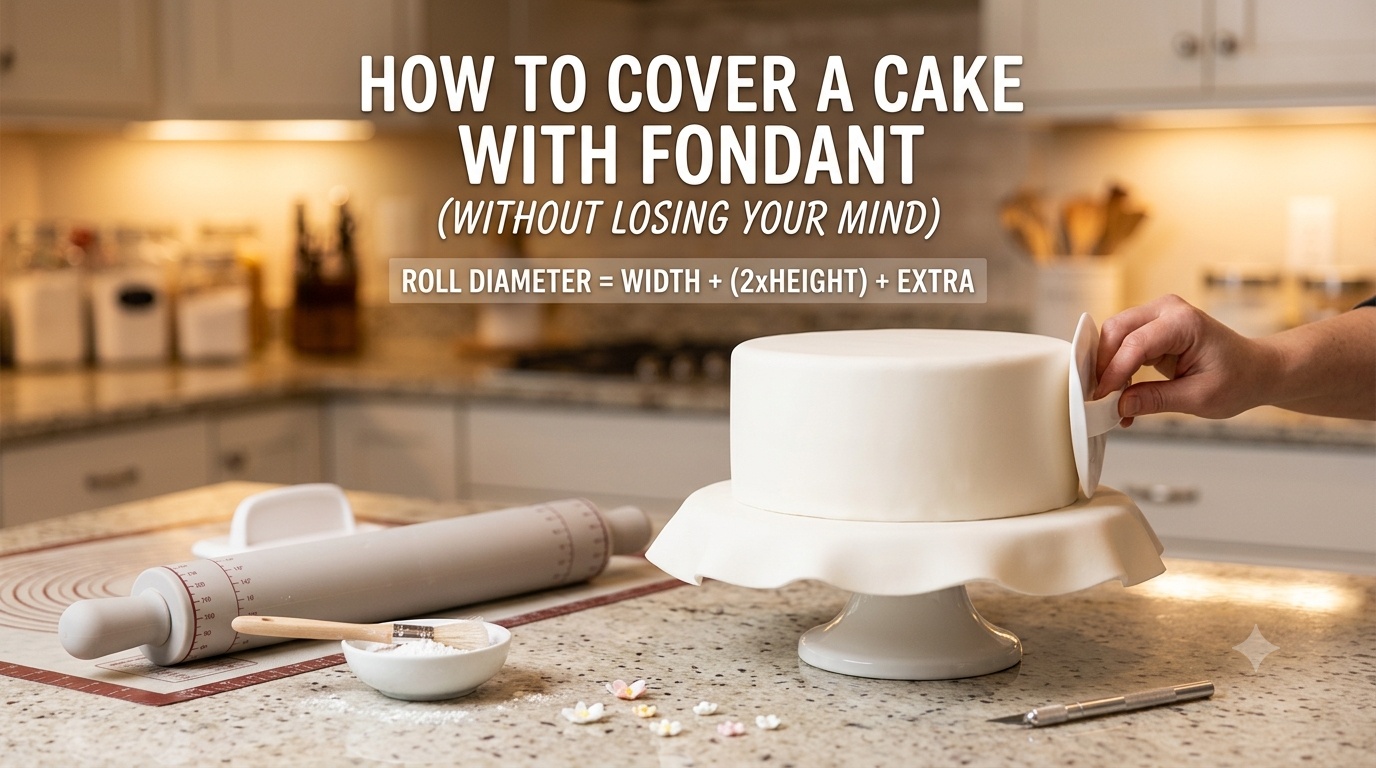
Sep
Covering a cake in fondant is one of those baking milestones that feels genuinely terrifying the first time you try it. You roll it out, lift it with trembling hands, drape it over the sponge, and suddenly you’re staring at tears along the rim, hideous elephant-skin cracks, or giant folds bunching up at the base. We’ve all been there.
Here is the secret seasoned cake designers won’t always tell you: getting a porcelain-smooth finish isn’t magic or artistic genius—it comes down to geometry, temperature control, and one specific hand technique.
What You Actually Need on Your Counter
Having the right essentials within arm’s reach saves you from panicking midway through the draping process:
- A rock-solid cake base: Completely cooled, level, and coated with firm chocolate ganache or crusting buttercream.
- Good-quality rolled fondant: Roughly 1.5 to 2 lbs (700–900 g) for a standard 8-inch round cake.
- A long rolling pin: A 16- to 20-inch non-stick silicone or plastic rolling pin is ideal. Small wooden pins can leave groove marks.
- Two flat fondant smoothers: Use one to hold and support the cake’s shape and the other to smooth and polish the surface.
- A pizza wheel or sharp craft knife: This helps you make clean cuts around the base without pulling the fondant.
- A 50/50 dusting blend: Mix equal parts cornstarch and powdered sugar. In a dry climate, you can use a light coating of vegetable shortening instead.
- A clean dressmaker’s pin: Useful for releasing trapped air bubbles without damaging the finish.
The Math: How Big Should You Roll the Fondant?
One of the biggest beginner mistakes is rolling a fondant disc that is only large enough to reach the cake board. When there is not enough extra fondant, you may instinctively pull it downward. This stretches the sugar paste and can cause tears around the top edge.
The Drape Formula
Target Diameter = Cake Width + (2 × Cake Height) + 3 Inches
Example: For an 8-inch round cake that is 4 inches tall:
8 inches + (2 × 4 inches) + 3 inches = 19 inches
Aim for an even thickness of approximately 1/8 inch (3–4 mm). If it is thinner, the fondant may tear under its own weight. If it is much thicker, it can feel heavy and gummy when eaten.
How to Cover a Cake with Fondant Step by Step
-
Prepare a Cold and Level Foundation
Fondant reflects whatever is underneath it. If the cake has bumps, a dome, or warm frosting, the fondant will make those flaws more visible. Cover the cake with sturdy ganache or firm buttercream, level the top, and refrigerate it for 30–45 minutes. The outer coating should feel firm before you begin.
-
Knead the Fondant Until Pliable
Fondant straight from the packet can be stiff and prone to tearing. Rub a pea-sized amount of vegetable shortening onto your palms and knead the fondant for 2–3 minutes. Stop when it feels warm, smooth, and pliable. Shape it into a neat dome without leaving creases on top.
-
Roll Outward from the Centre
Lightly dust your work surface. Place the rolling pin in the centre of the fondant and roll outward towards the edges. Rotate the sheet by a quarter turn after every few passes to prevent sticking. Continue until it reaches the required diameter with a uniform thickness of approximately 1/8 inch.
-
Lift and Drape the Fondant
Remove the chilled cake from the refrigerator. If you are using ganache, wipe the surface with a barely damp paper towel to make it slightly tacky. Lightly dust the rolling pin, loosely roll the fondant sheet over it, and lift it above the cake. Unroll it carefully, keeping it centred so the extra fondant hangs evenly on every side.
-
Smooth the Top First
Immediately smooth the top using your palm or a fondant smoother. This helps remove trapped air and anchors the fondant so that it does not move while you work on the sides.
-
Use the “Fluff and Flare” Method
Do not press straight down the sides because this can create deep vertical pleats. Work in small horizontal sections instead. With one hand, gently lift the bottom edge of the fondant up and away from the cake, similar to spreading a skirt. With your other hand, smooth the relaxed fondant against the side, working only 1–2 inches downward at a time. Continue moving around the cake until you reach the base.
-
Define the Edge and Trim the Excess
Hold one fondant smoother flat against the side of the cake and move a second smoother across the top. The point where the two smoothers meet will help create a clean 90-degree edge. Finally, place a pizza wheel or sharp knife against the cake board and trim away the excess fondant in one smooth circle.
Real-World Fixes for Common Fondant Problems
- “My fondant is dry and cracked like elephant skin.”
- The fondant may have lost moisture because of dry air or too much starch. Rub a tiny amount of vegetable shortening between your fingers and gently massage the cracked area using small circular movements. The warmth from your fingers and the added fat should help soften the surface.
- “There is an air bubble bulging from the side.”
- Do not press the bubble flat because this can stretch the fondant. Insert a clean dressmaker’s pin into the centre of the bubble at a 45-degree angle. Use a smoother to gently guide the trapped air towards the pinhole.
- “The top edge started tearing while I was draping it.”
- This usually happens when the hanging fondant pulls against the cake’s upper edge. Support the bottom portion with your hands to reduce the tension. Minor cracks can sometimes be softened with a tiny amount of vegetable shortening or covered later with a border or sugar decoration.
- “My cake is sweating and looks shiny.”
- Condensation develops when a cold cake is exposed to warm or humid air. Do not touch the surface, as this can leave permanent fingerprints. Keep the cake in an air-conditioned room or place it near an oscillating fan. The moisture should gradually evaporate within one or two hours.
Frequently Asked Questions
Can I cover a whipped cream cake with fondant?
It is generally not recommended. Fresh whipped cream releases moisture that can soften or dissolve the sugar paste. Firm chocolate ganache, American buttercream, or a stable Swiss meringue buttercream provides a more reliable base.
Can I store a finished fondant cake in the refrigerator?
Domestic refrigerators are humid, so fondant may sweat and soften after the cake is removed. Ideally, store the finished cake inside a clean cardboard bakery box in a cool, dry place away from direct sunlight. If the filling requires refrigeration, place the cake in a box, wrap the outside of the box securely with plastic wrap, and allow the cake to return to room temperature before removing the wrapping.
